🚚 Free Worldwide Shipping on Orders Over $499
🛡️ 2-Year Warranty
🔄 30-Day Easy Returns
Gongly

Hi, how can we help?

Find answers, setup guides, and expert technical support for your Gongly machines.

📦

Orders & Shipping

Track orders, delivery time & shipping rates.

🔄

Returns & Refunds

30-day easy return policy & refund status.

🔧

Product Setup

Step-by-step unboxing guides and tutorial videos.

🛡️

Warranty & Repairs

Warranty coverage details & local repair services.

🥣

Parts & Accessories

Find spare seals, scrapers, cylinders & mixers.

💳

Account & Billing

Manage orders, check invoices & update payments.

Frequently Asked Questions

View all FAQs →
What is the warranty period for Gongly machines?
Every Gongly machine comes with a standard 2-Year Warranty covering all functional parts, compressors, and motor assemblies. Technical support is always free.
How do I clean my ice cream machine?
Our machines have an integrated Auto Clean system. Simply fill the hopper with lukewarm water, press the Auto Clean button, drain the water, and wipe down with food-safe sanitizer. Detailed guides are in the setup video section below.
Why is my machine not turning on?
Verify that the power cord is securely plugged in and the circuit breaker hasn't tripped. Ensure the emergency stop switch (if equipped) is released. Check the troubleshooting panel below for more details.
How long does it take to make ice cream?
counter soft serve machines freeze the mix and start dispensing delicious ice cream in just 12-15 minutes after power-on. Batch freezers take about 10-12 minutes per batch.
Can I use regular table salt instead of rock salt?
Gongly machines use direct electrical compressors (no ice/salt brine needed!). Our systems are fully self-contained refrigeration units.
Where can I buy replacement parts?
You can purchase official replacement parts (like gaskets, O-rings, scraping blades, and valves) directly on our Accessories section or by contacting support.
Videos

Setup & Cleaning Guides

View all guides →
Unboxing
3:10

Unboxing & Parts Overview

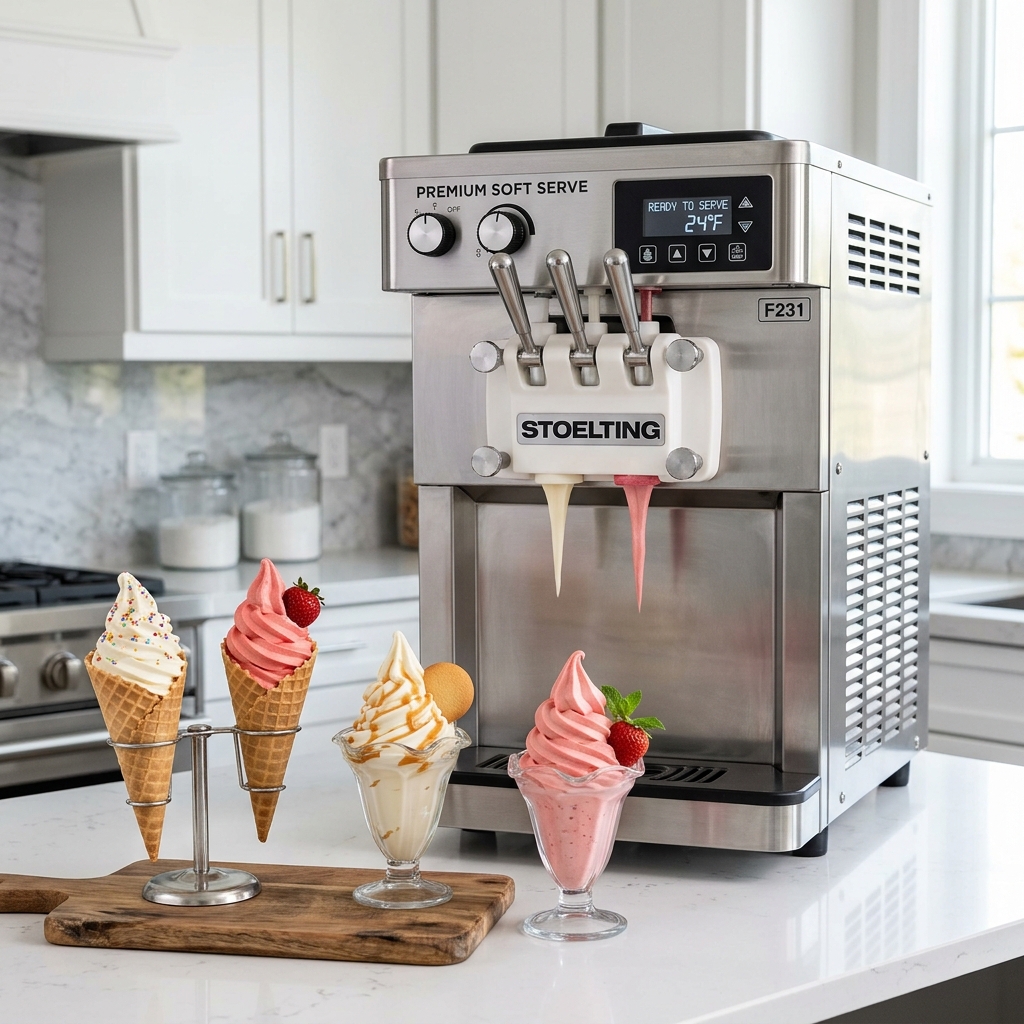
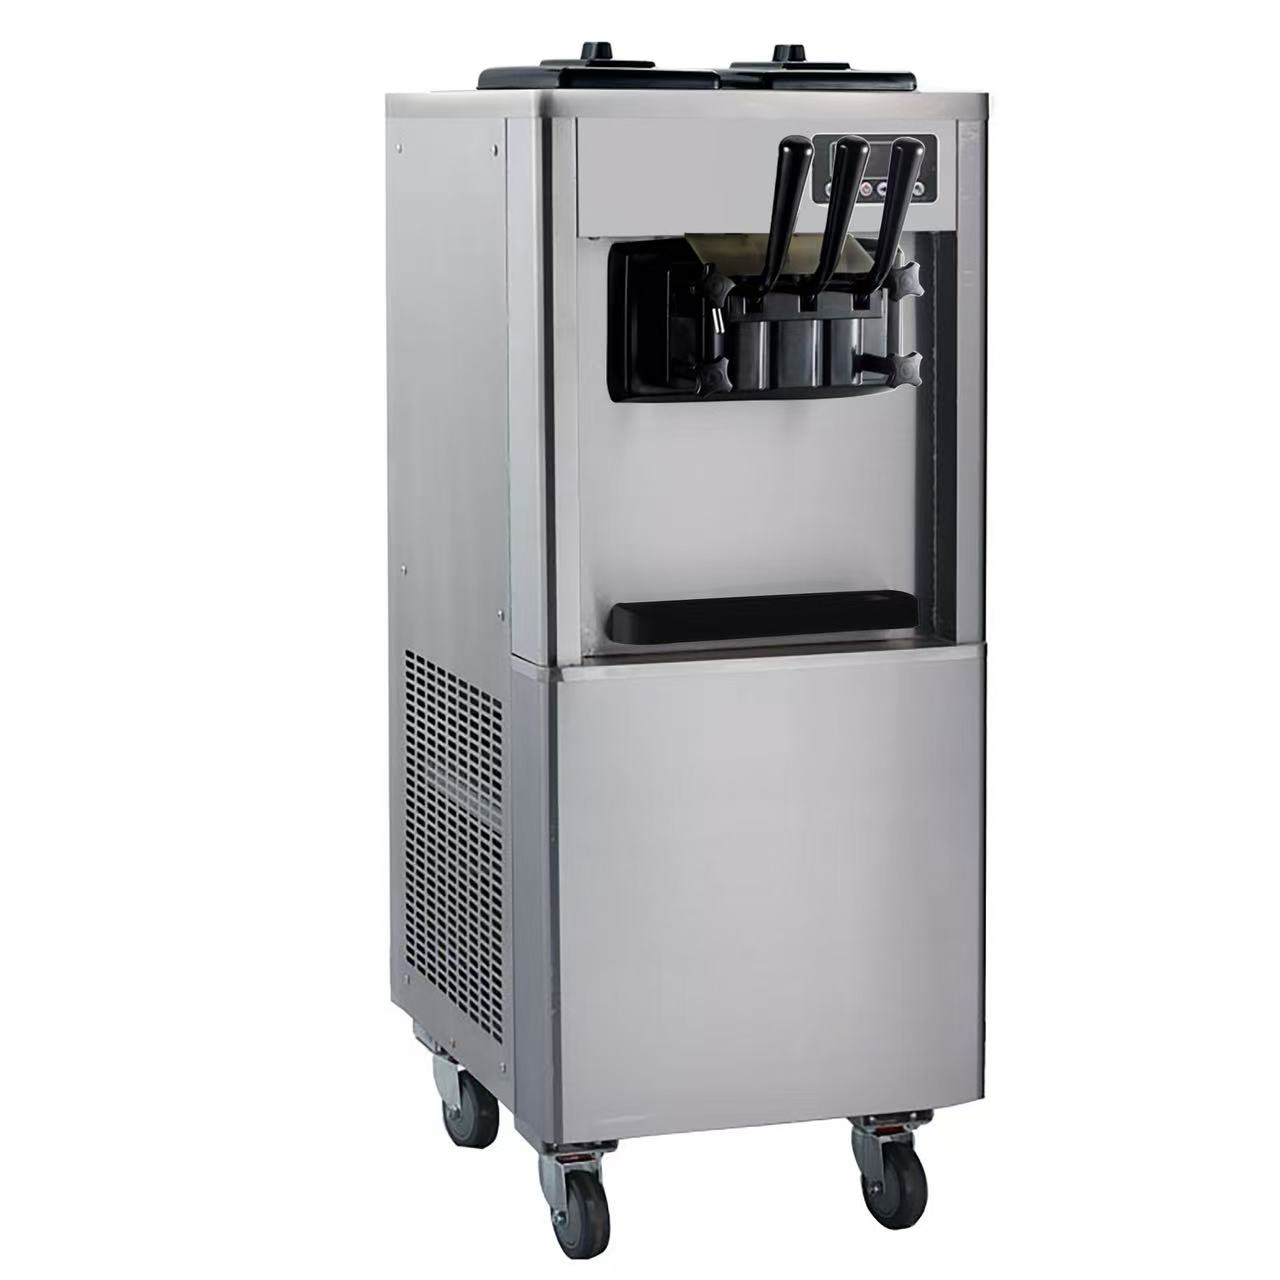
What's in the box and getting to know your new ice cream machine.

First Time Setup
5:45

First Time Setup Guide

Step-by-step assembly, electrical connection, and first run settings.

First Batch
4:20

Making Your First Batch

Mixing ingredients, adjusting overrun, and dispensing first cones.

Cleaning
2:52

Cleaning & Maintenance

Daily auto-wash cycle, disassembling parts, and sanitizing hoppers.

Storage
3:15

Disassembly & Storage

Preparing the machine for long-term storage or seasonal shutdown.

🚚

Shipping Information

Fast, tracked, and fully insured shipping globally.

Learn more →
🔄

Returns & Refunds

30-day easy return policy on all unused products.

Learn more →
🛡️

Warranty Information

2-year warranty coverage on all Gongly purchases.

Learn more →

Manuals & Downloads

View all downloads →
📄

SnoMaster Pro 2.0 User Manual

PDF | 3.2 MB

Download →
📄

FrostyDeluxe 1.5 User Manual

PDF | 2.8 MB

Download →
📄

PolarPro 40L User Manual

PDF | 4.1 MB

Download →
📄

Quick Start Guide (All Models)

PDF | 1.2 MB

Download →
📄

Cleaning Guide All Models

PDF | 1.8 MB

Download →

Troubleshooting

View all troubleshooting articles →
Machine won't turn on
Check plug power socket connections. Verify voltage settings. Check control fuse inside machine base panel.
Ice cream is too soft or runny
Increase hardness settings (1 to 3). Check that environmental temperature is not exceeding 32°C. Ensure rear vents have at least 30cm clearance.
Machine is making unusual noises
Verify scraping blades are properly fitted inside freezing cylinder. Ensure the machine is placed on a completely flat, level surface.
Compressor is running but not freezing
Verify mix has correct sugar levels (between 13%-18% is required for proper freezing). Check for refrigerant leakages. Contact support.
Display shows an error code
Refer to page 28 of the User Manual to map error codes (e.g. E1, E2, E3) to troubleshooting actions.
Leaks or water buildup
Check that all internal O-rings are lubricated and positioned correctly. Ensure discharge valve is completely locked and closed.